OBS
Open Broadcaster Software®️
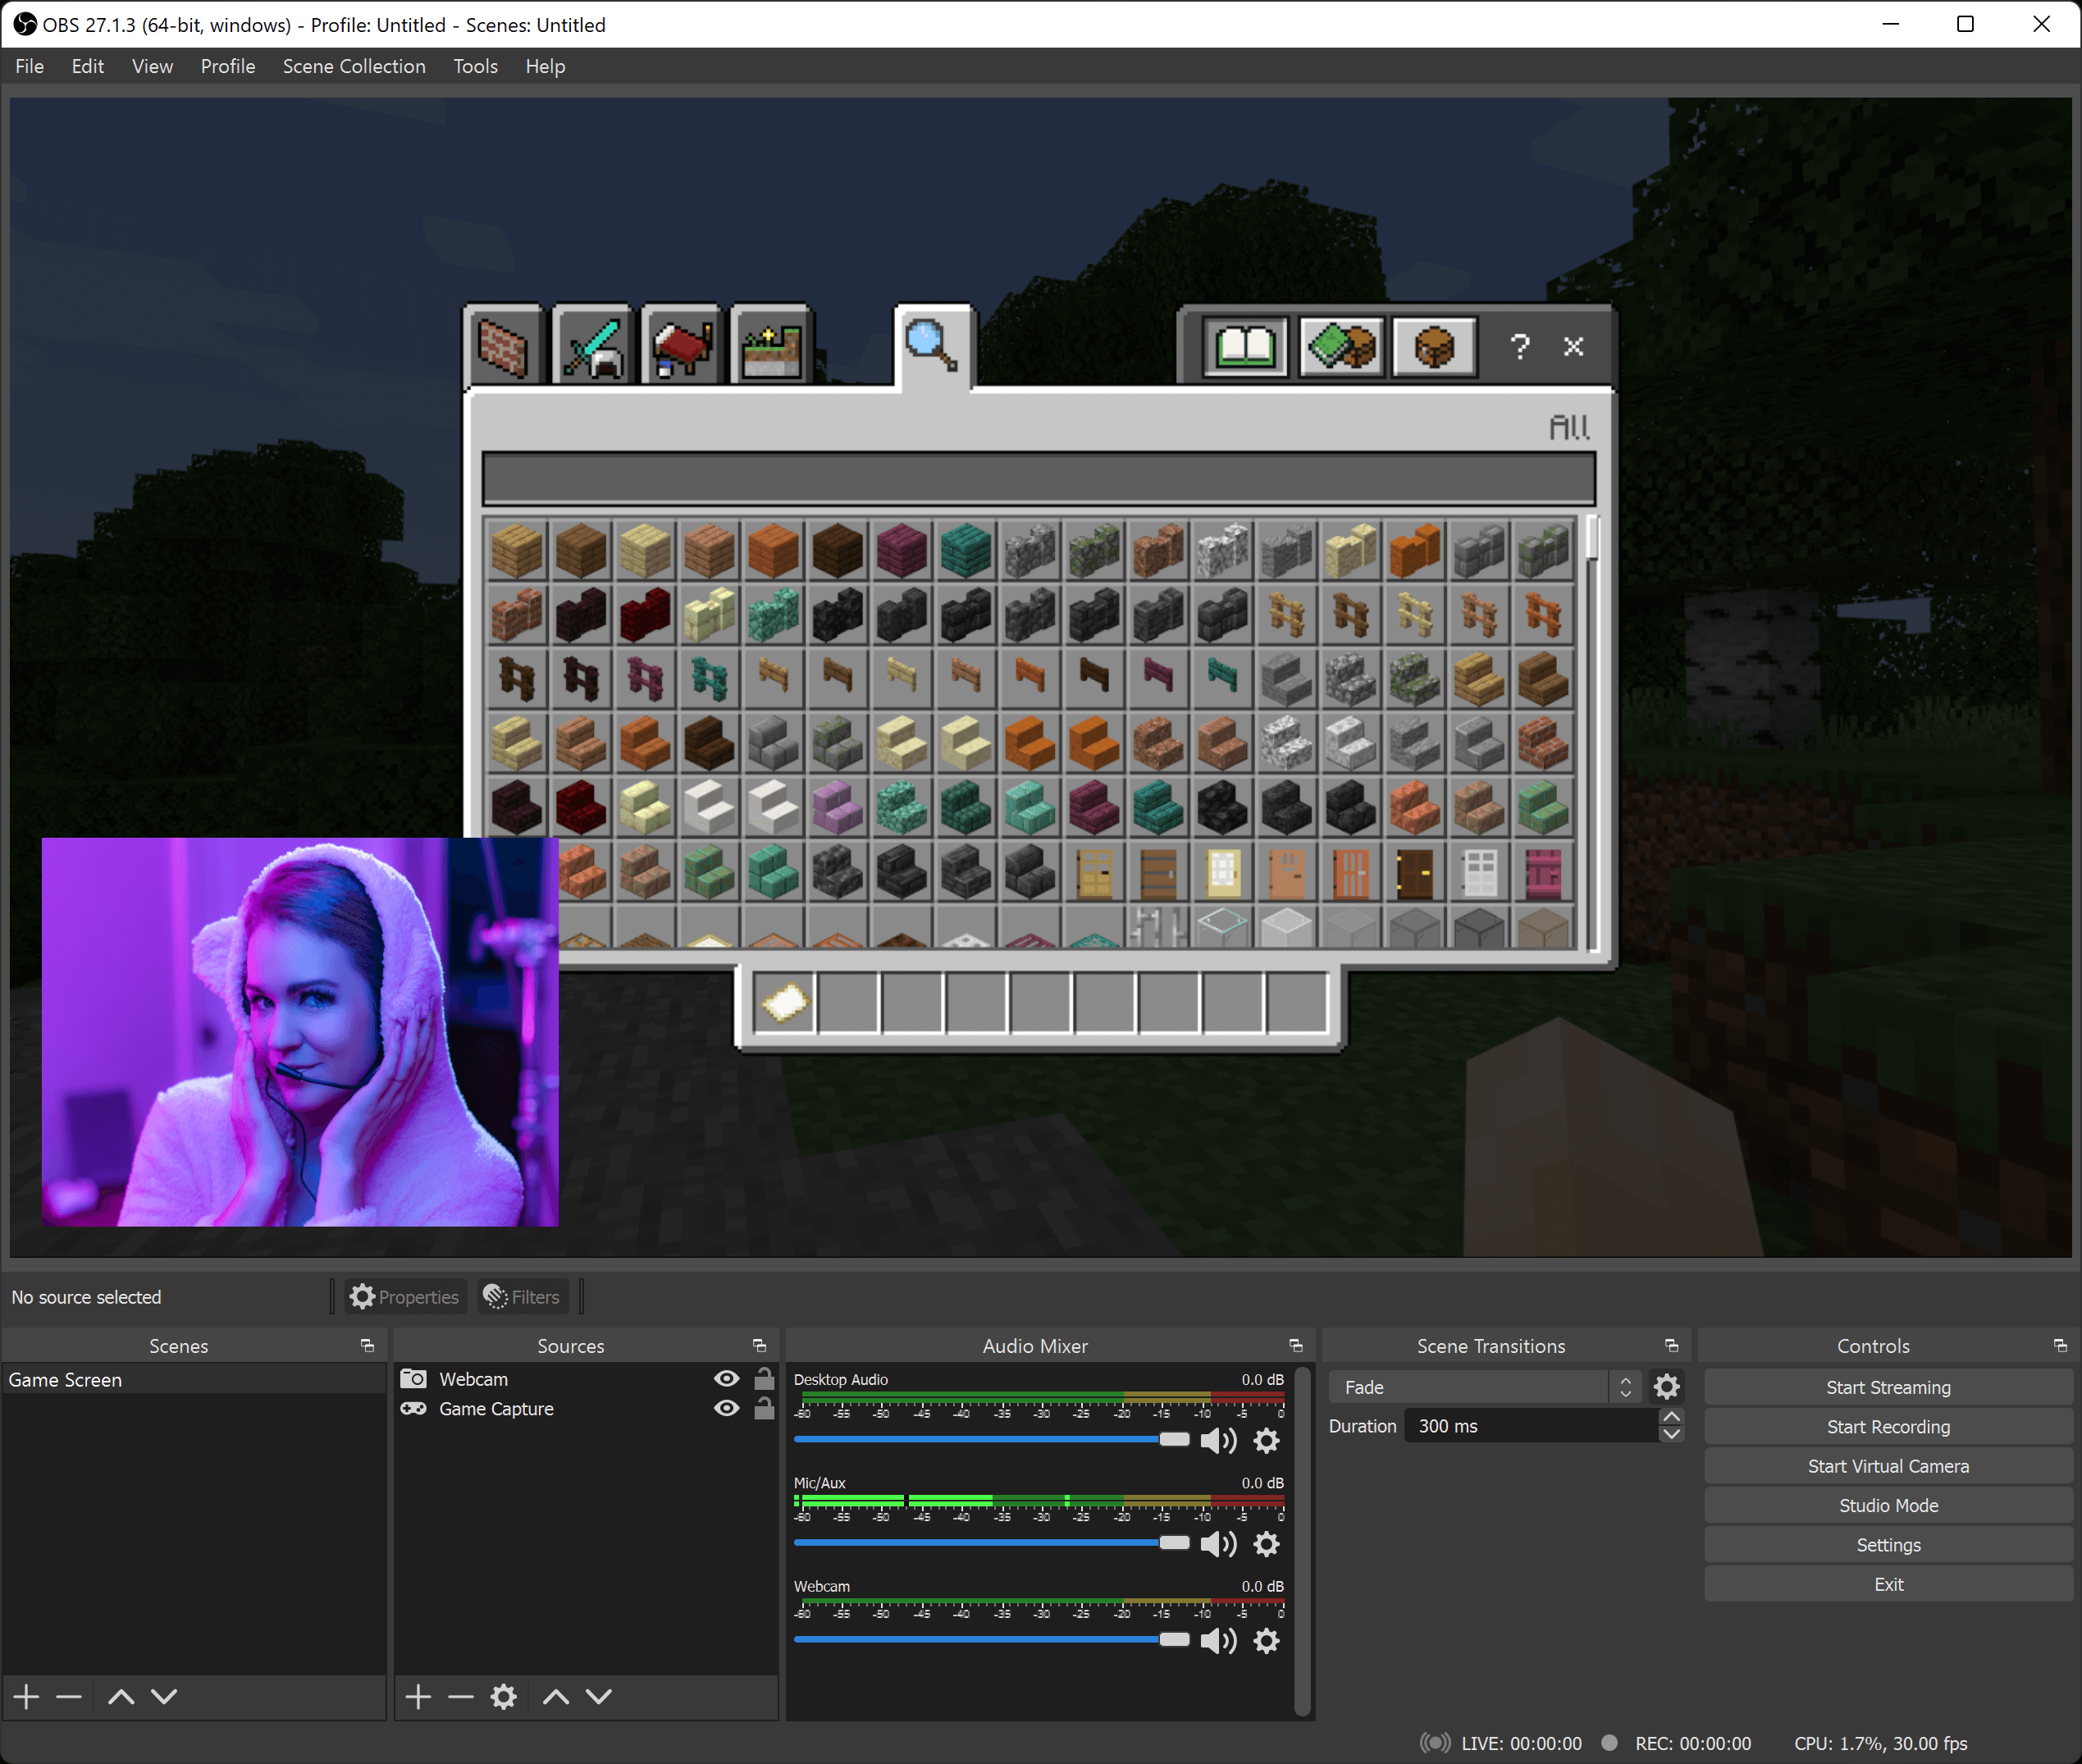
Stream Layout Tutorial 1: Game Screen
Table of Contents
1. Set Up your Game Screen
- Create a new Scene for capturing the game. Name it 'Game', 'Stream', or something similar
- Add a Source (from one of the options below) to show your game
|
|
|
|


- Fit the Source to the size of your Scene
- Click on the Source
- Click on the Edit menu → Transform → Fit to Screen (Ctrl-F/Cmd-F)

2. Add your webcam
- Add a Video Capture Source and select your webcam
- Resize the Video Capture Source so that it doesn't cover too much of the game
- For precise sizing, use the Edit Transform window
- Change the Bounding Box Type to Maximum size only
- Change the Bounding Box Size
- For 16:9 webcams: try 480x270 or 640x360
- For 4:3 webcams: try 360x270 or 480x360
- For precise sizing, use the Edit Transform window
- Position the webcam where it won't cover any important information, such as a corner or edge
- If you place the webcam in the corner, give it a little space around the edges
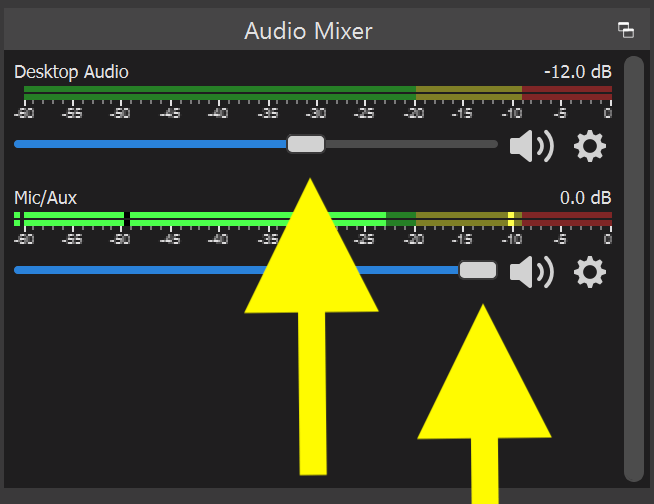
3. Adjust your Volume Levels
- Check the volume levels in the Audio Mixer.
- Usually, you want to reduce the desktop audio/game volume so that people can hear your microphone
- To make the game volume automatically reduce when you speak, use a Compressor Filter with Ducking enabled