Stream Layout Tutorial 3: Be Right Back screen
This step-by-step guide will walk you through creating a "Be Right Back" scene in OBS with multiple layers.

1. Create a new scene
From the main OBS window, click the "+" icon below the scenes list. Enter a name for the new scene in the dialogue box that appears and then click OK.

2. Add a Background Image
With your new scene selected in the scenes list, click the "+" icon under the sources list and then click "Image" in the drop-down to create a new image source. Select "Create New" in the dialogue box and give the source a name. Leave the box next to "Make source visible" checked and click OK.
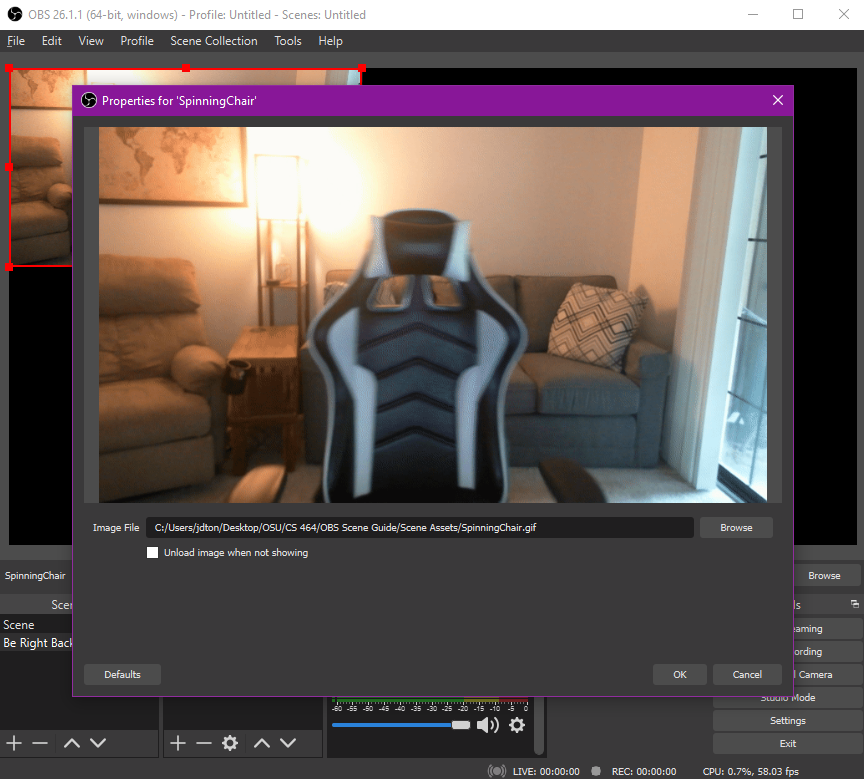
Click "Browse" and then select the image you want to use. You can use both static image files such as png or jpg, as well as animated gifs. Once you've selected your image, click OK.

3. Adjust the Image Size and Placement
With the new image source selected, you can click and drag the image in the preview to move it. Click and drag the red squares along the image outline to resize it.
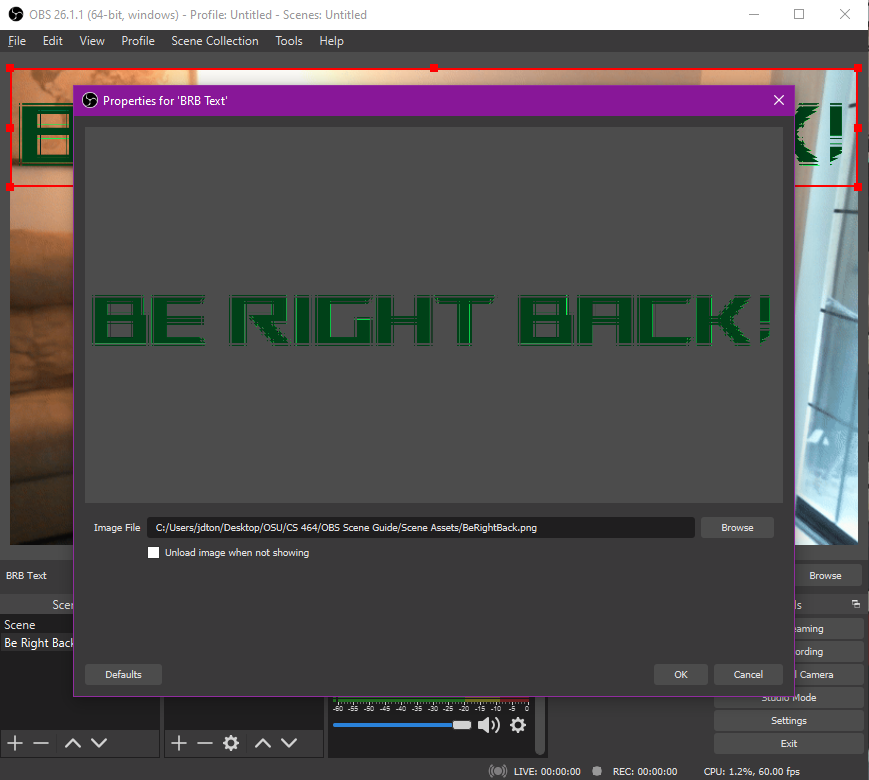
4. Add a Text Overlay
Repeat steps two and three to add another image source and select an image containing text with a transparent background.

5. Add a Game Capture Source
Make sure the game you want to capture is running. Again, click the "+" icon below the sources list, but now click "Game Capture" instead. In the first dialogue box, give the new source a name such as the name of the game you want to capture.

In the properties window, select "Capture specific window" from the mode selection. Then next to "Window," select the game you want to capture (the game must be running). The remaining options can be left as default. Click OK.
You can adjust the size and position of the game capture in the same way as the images.

6. Adjust the Source Order
The order of the sources in the list determines which ones appear in front of or behind the others. A source lower on the list will appear behind any source higher on the list. To adjust the order of the sources, click on a source and then click the up and down arrows below the list to move that source higher or lower.
Once you have the sources sorted to your liking, congratulations, you've finished creating your "Be Right Back" screen!